
Kananas offers you 2 methods to manage your membership cards:
- Digital, in the form of a QR Code
- Printable cards
Digital Card
Based on a unique QR code for each file, this digital card can be read using a smartphone’s camera.
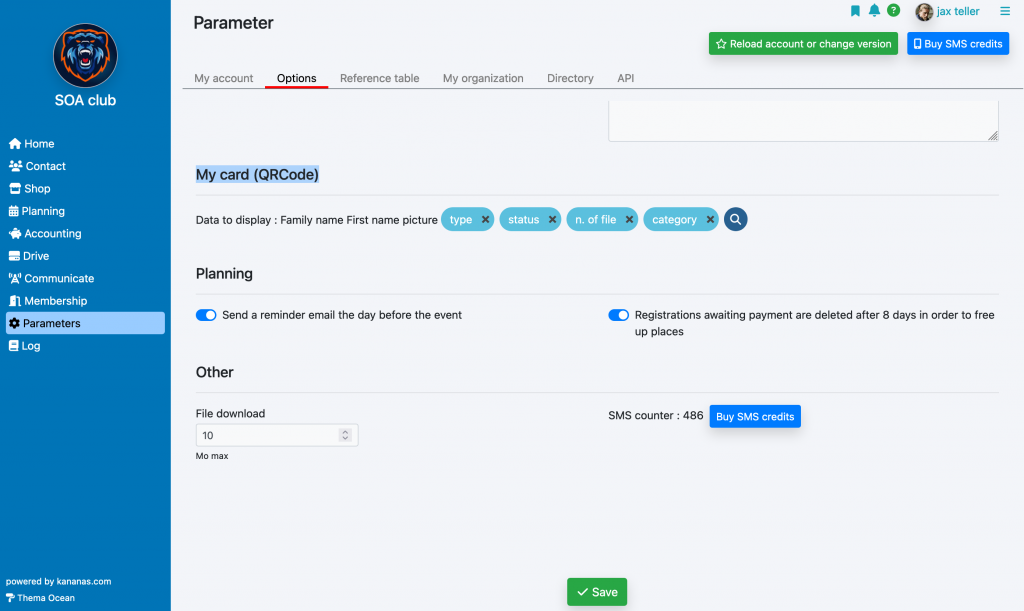
Once the QR Code is scanned, the page will display the fields of the person’s file. The fields to display can be defined in your settings.
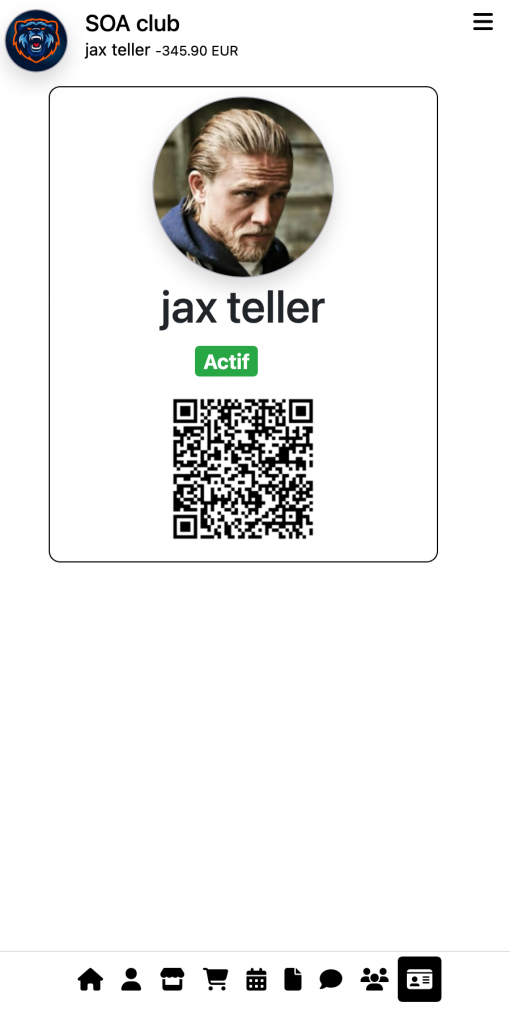
This digital card is available in the member’s personal space, so they can present their QR code from their smartphone, and you will just need to scan it.
Card on the member’s smartphone
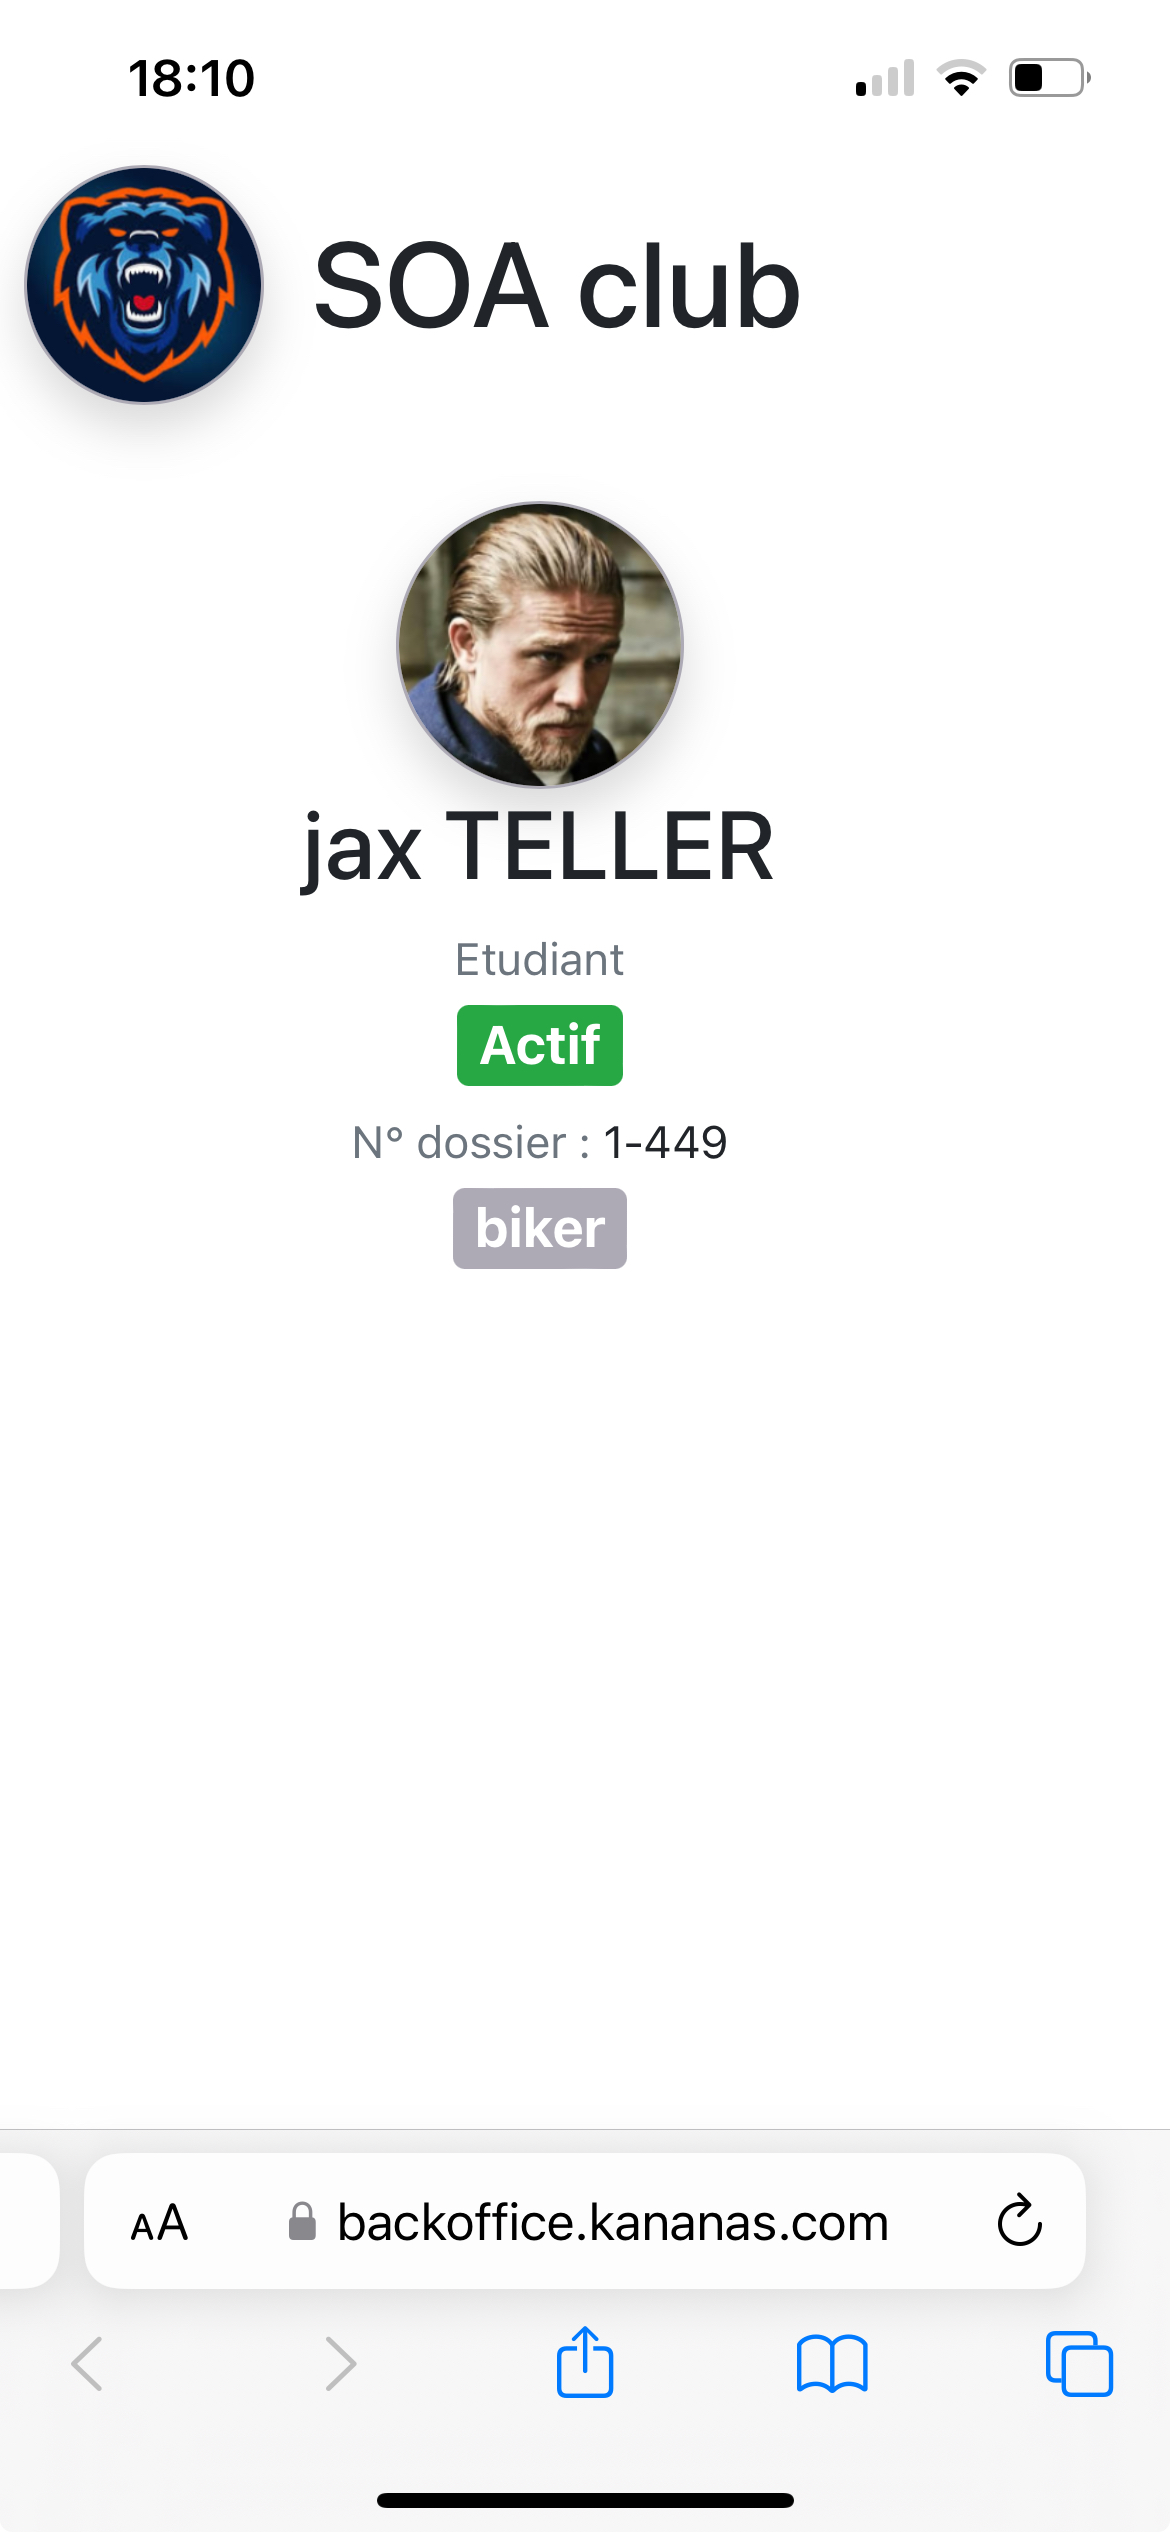
Display on the smartphone that scanned the QR code
The QR code can also be sent to the member by email. It is available in the fields that you can add to a mail or a template document.
Printable Card
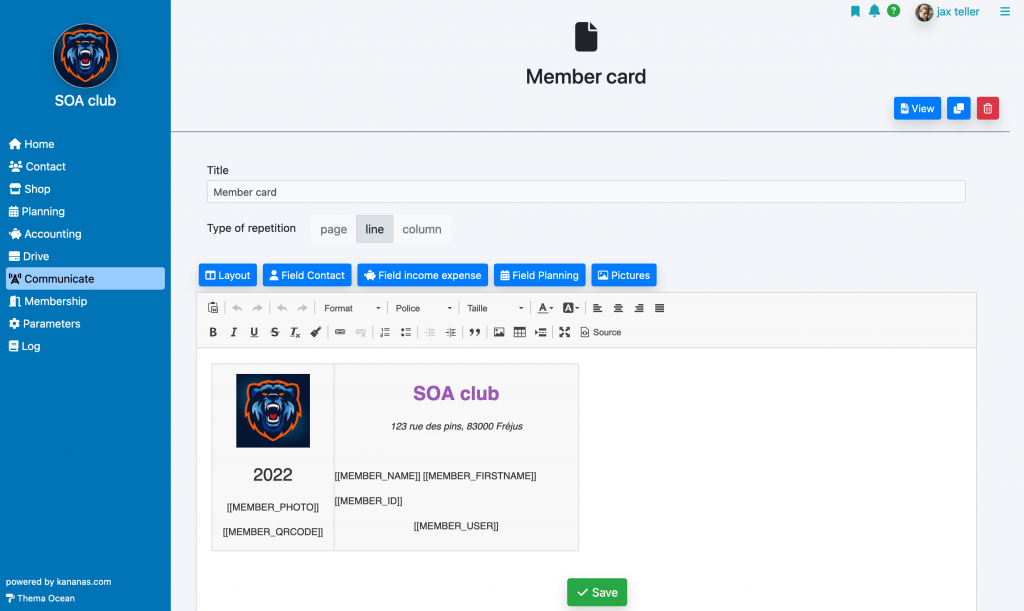
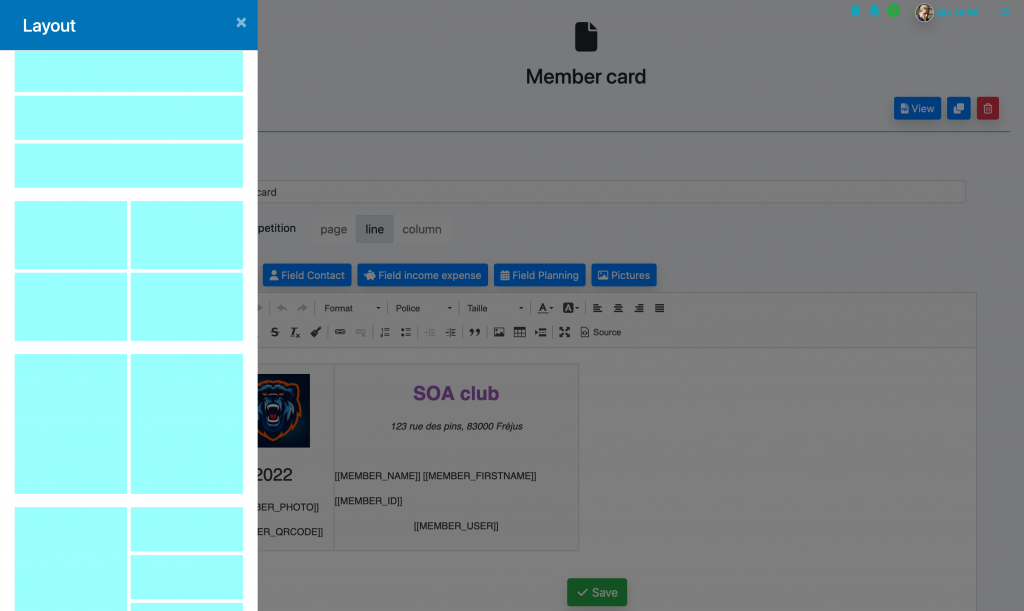
In the Communicate/Templates menu, you will find an example of a membership card document.
You can modify it; we suggest duplicating it and then working on the copy.
The document editor interface allows you to format it like a word processor (backgrounds, styles, etc.) and insert information from your database (dynamic fields): photo, address, etc. These fields will be replaced with their stored values from the database when executed.
We recommend using a table layout to better organize your document (add table from the toolbar).
For more precise design, feel free to switch to source mode, which will allow you to edit the document’s HTML code, just like a web page. To do this, click on the « source » link.
There is a special field named « QR Code » that allows you to insert a unique QR code on the card. This QR code can then be scanned with a smartphone camera to retrieve the person’s information.
To group several cards on the same sheet of paper, choose the option « repetition type = row. » The block will be repeated multiple times on the page.
Layout
You will find a layout help function accessible via the Layout button.
Card Editing
In the « contacts » view, select the files for which you want to print a card.

Once the selection is made, click on Print a template document in the bulk edit function, then select your document and click OK.
Note: by selecting the option send the template document instead of print, you will have the option to send this document by email.