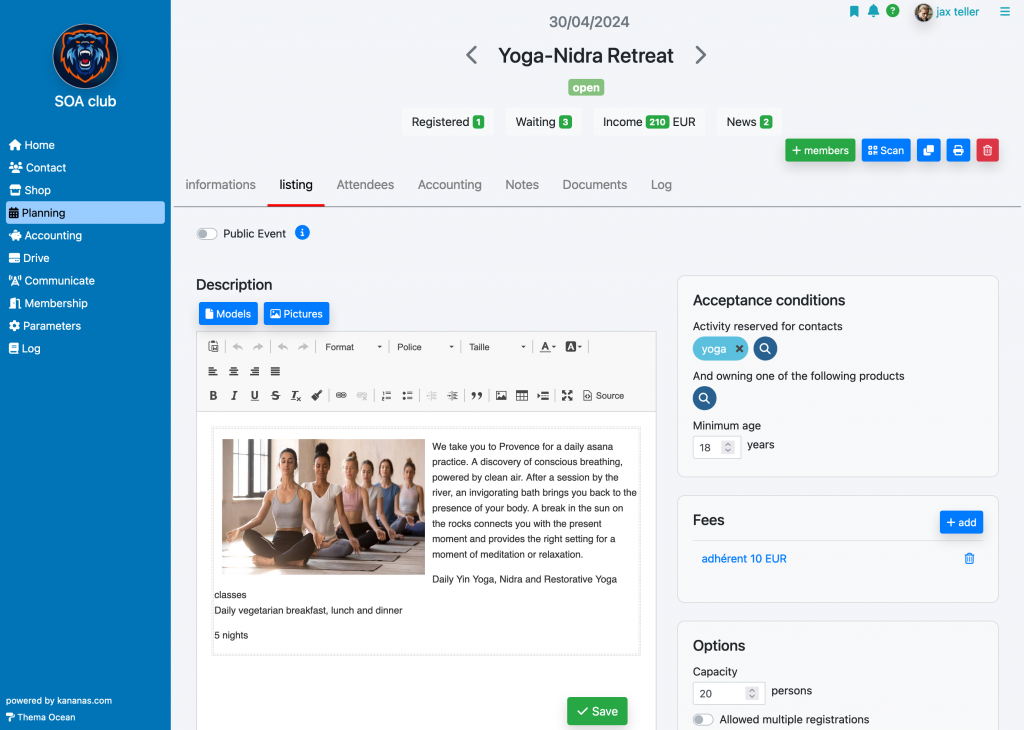
Registration fees
If you want future participants to pay for their registration online, you must add rates to your activity.
To do this, use the +add button in the Fees area of the listing tab.
Upon registration, the fee will automatically be added to their cart and if you have enabled it, online payment can be made.
Expenses applied to attendees
To add fees to a participant, click on the shopping cart icon located to the right of their line. To add a payment use the piggy bank icon.
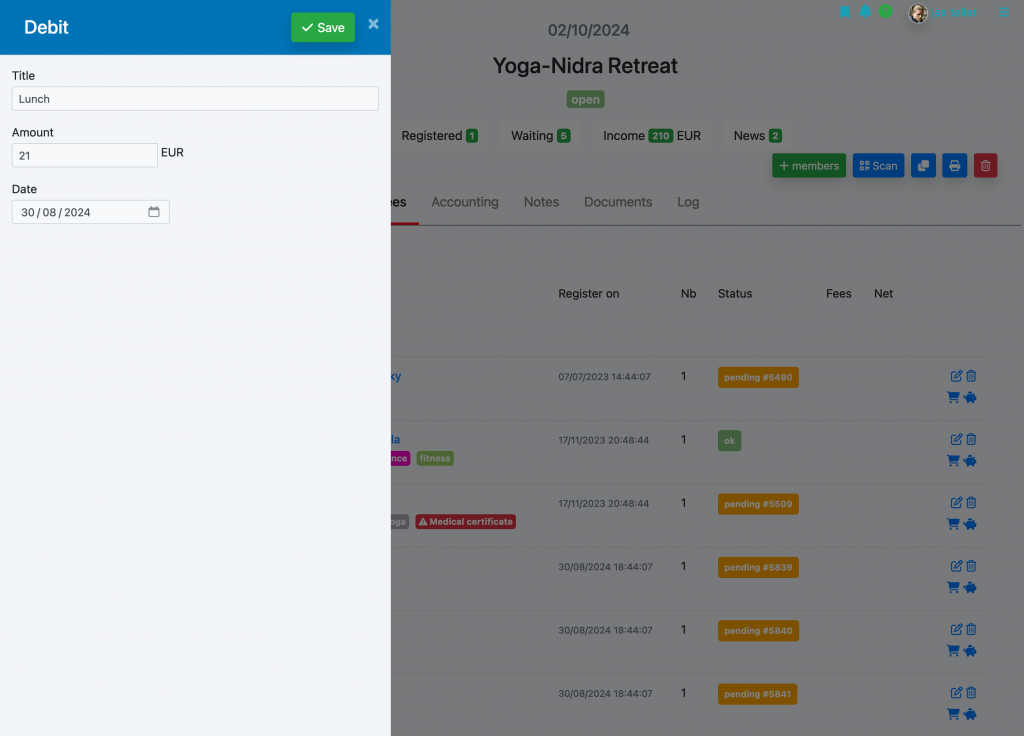
If you wish to apply fees to participants collectively, check the participants in the attendees tab of the activity then use the collective modification function located at the bottom of the page. You will then have the choice between adding a product (linked to your product catalog, example 1 t-shirt), or adding an expense (a title and an amount).
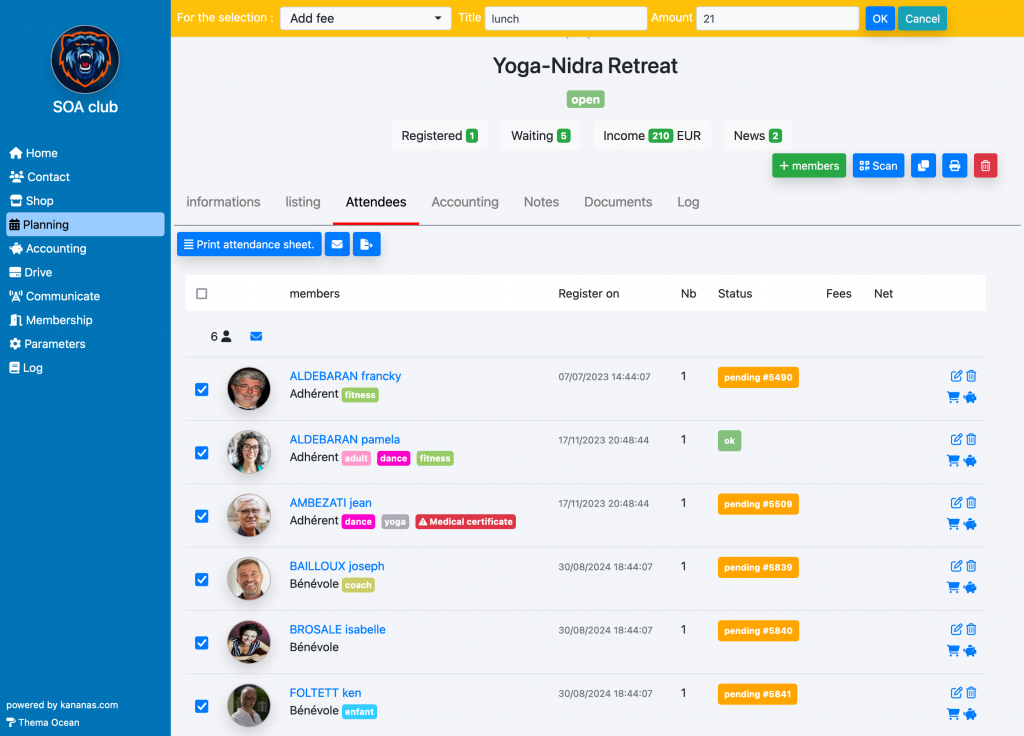
You must proceed in the same way when paying the expense, check the participant and use the collective action add payment.
View Fees :
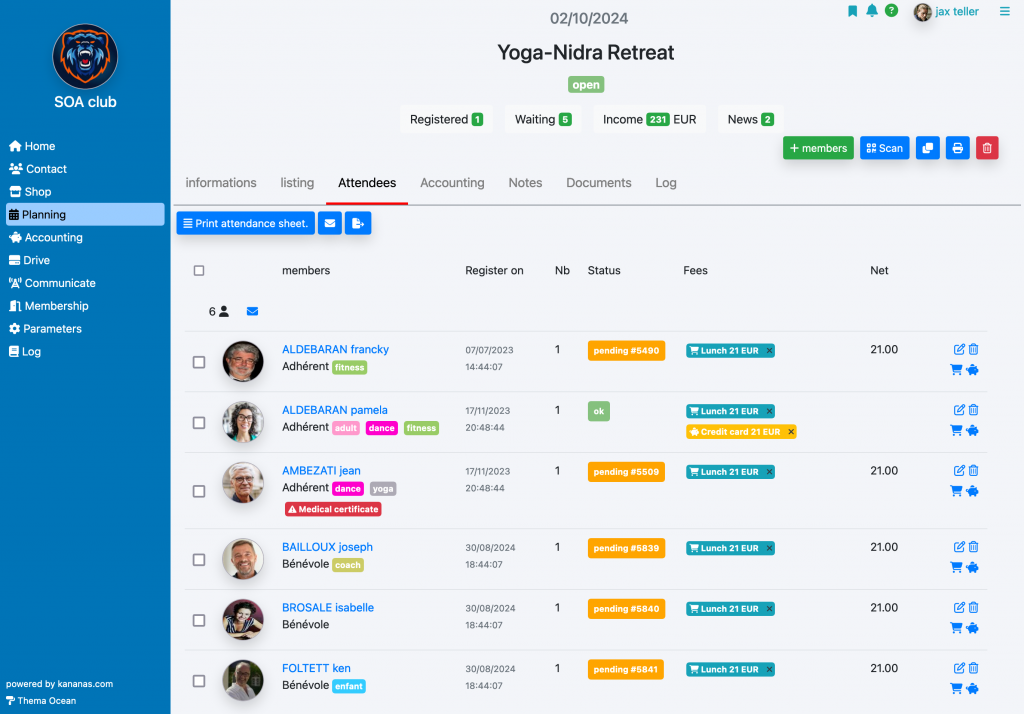
You can then enter payments by clicking on the piggy bank icon on the corresponding line. The payment entered will automatically generate a receipt line in the accounting journal and in the contact’s cart.
By clicking on the description of the costs (fees column), you have access to the details of the latter as well as the payment details.

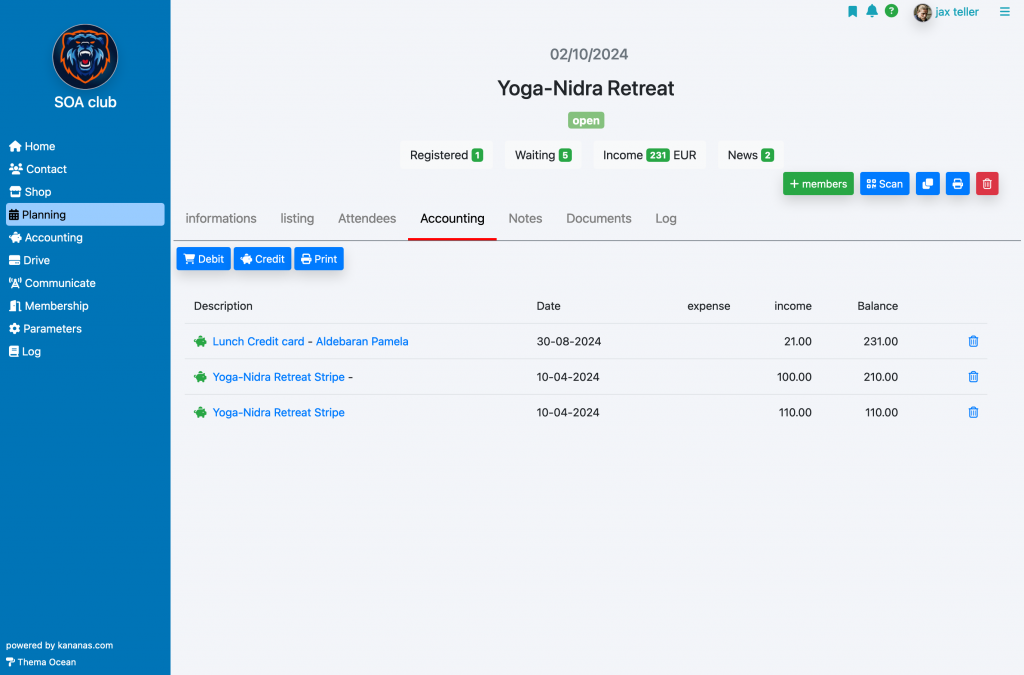
Activity-related costs
It is also possible to allocate income or expenses to an activity by using the accounting tab and clicking add.
NB: the entries in this tab will not be linked to a participant, otherwise they will have to be created in the participant tab.
To learn more about planning